Monitor speakers not working is a fairly common issue. These speakers are not powerful and not well optimized as standalone speakers. So, software issues and cable problems frequently disrupt its workflow. Nevertheless, there are plenty of fixes you can follow to troubleshoot this issue. So, if you’d like to understand how to troubleshoot your speakers and efficiently apply the fixes in real life, this is the place for you. This guide shall help you discover the definitive cause and the related fix to get your monitor speakers up and running in no time. Let us begin!
Why Are the Monitor Speakers Not Working?
How to Fix My Monitor Speakers?
If there is no hardware damage, fixing your built-in speakers is a pretty straightforward process. A few tweaks in the settings and some verification checks are all you need to perform. Make sure to try all the fixes listed below until your problem gets sorted out. Let’s get right to it!
Check the Volume Through Your Monitor
Monitors didn’t have speakers built into them until recent years. So before you dive into problems and fixes, make sure your monitor has one of those. If your monitor does have speakers, max out the volume using the monitor controls. The monitor controls vary depending on its model. So, either play around with it or look at the manual to know exactly how to increase the volume.
Reconnect Your Cables
You have to make sure that there is no sign of physical damage to your ports and cable. So, check and recheck all the cables connecting your monitor. Unplug all the cables from both the monitor and CPU and reconnect them firmly. Furthermore, if you have connected the monitor via VGA or DVI, you’ll need a 3.5mm audio jack to hear the sounds. Connecting a monitor using HDMI or DisplayPort does not require separate audio jacks.
Restart Your Computer
A simple yet effective fix to restore your computer from any system glitches is to restart it. Restarting your computer ends the current user session and begins a new one. So, any technical glitches of the previous session could now be discarded and your speakers could now be fixed.
Run the Audio Troubleshooter
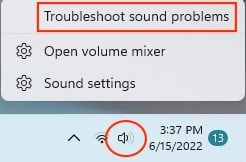
Windows provides a troubleshooting feature to its user that tries to detect and fix any common issues within the system. So, it’s advisable to run the audio troubleshooter before going into any technical fixes. The steps below show you how to do so:
Check the Audio Output Settings
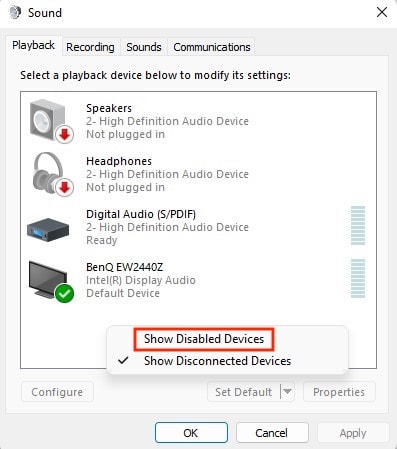
Windows OS allows users to change the default audio device as per their requirements. This can be done directly through the settings app. So, make sure that your monitor speakers are set as the default output device. You can follow these steps to do so:
Enable Your Audio Device Through the Settings App
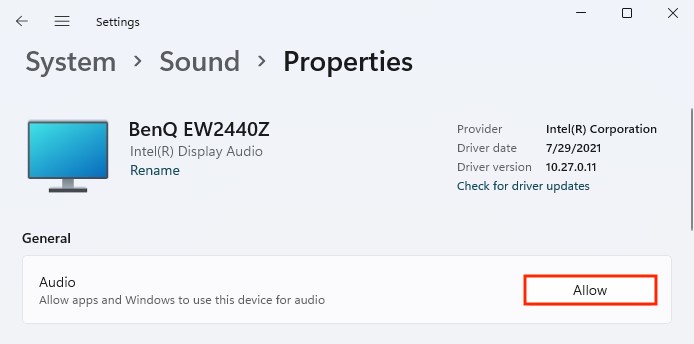
A glitch in Windows 11 automatically disables your audio device sometimes. If so, you have to re-enable it and it can be done through the system settings. The steps below describe the process to do so:
Enable Audio Through BIOS
If your system is integrated with an audio chip instead of a sound card, this method is just for you. In this case, you have to enable the audio through the BIOS. BIOS is required to interconnect the operating system and your computer hardware. So, this method could very well fix your issue if there’s an audio chip on your system.
Update/Reinstall Your Sound Drivers
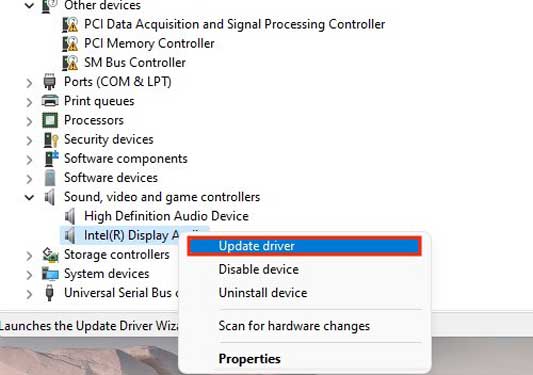
To fix any audio issues caused by faulty drivers, you can reinstall or update your sound drivers to solve the problem. An updated sound driver can help your system interact efficiently with your audio device. Similarly, reinstalling the sound drivers discards the previous buggy install and sets up a fresh one. This too can help you with your audio issues. The steps below show how you can update and reinstall your sound drivers.
Update
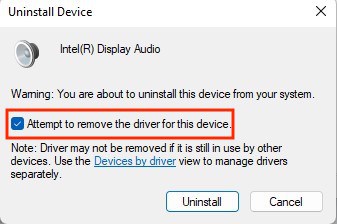
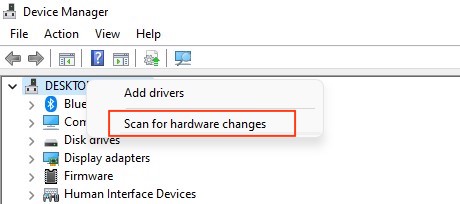
Reinstall
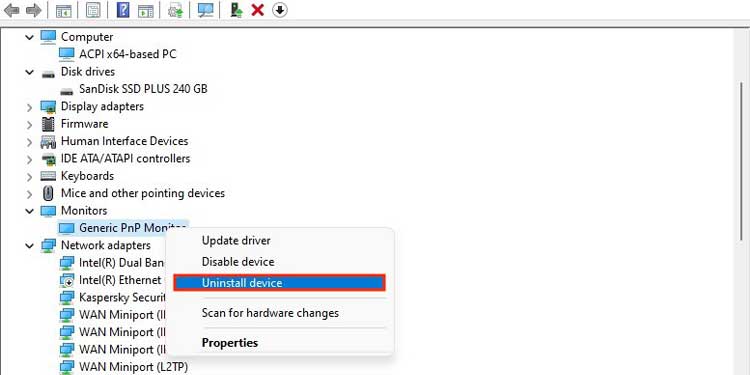
Update/Reinstall Your Monitor Drivers
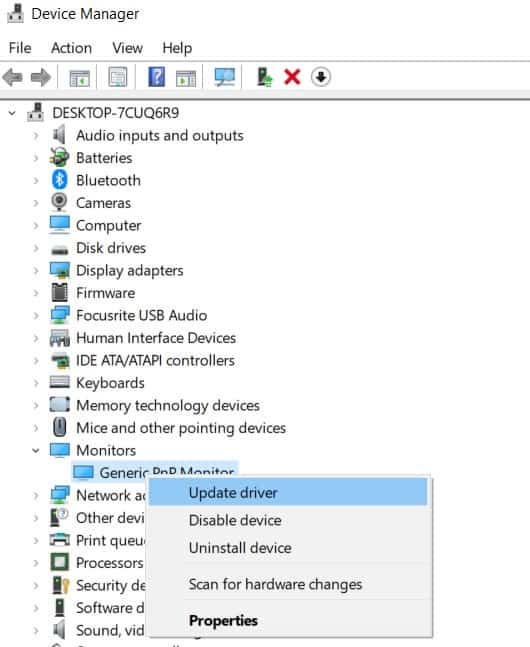
If the monitor itself is causing the problem with your audio, reinstalling or updating its driver might help fix the problem.
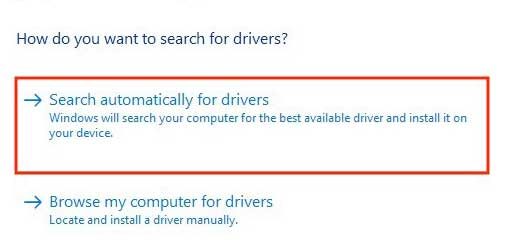
Update
Reinstall
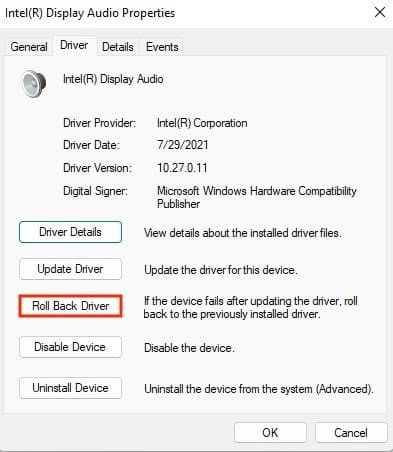
Roll Back Your Drivers
If a newer audio driver is causing issues with your system workflow, then rolling it back to a previous build could fix your issue. So, when you roll back your driver, the current build is uninstalled and your driver is reverted back to a previous one. Here’s how to roll back your driver:
Install All Windows updates
Updating Windows to the latest build often fixes certain system issues with newer and more well-defined patches. This could fix the audio problem as well as the compatibility issues you’re facing. So, update your Windows by following the steps below:
Replace the Defective Sound Card
If none of the aforementioned procedures seem to do the job for you, the problem may lie with your sound card. A defective sound card fails to deliver the audio output and you’ll be left in silence. To find out the status of your card, connect another audio device (speakers, headphones) to your computer. If you hear sound via this device, your sound card’s fine. However, if not, the only thing you can do in this case is to replace your sound card.
