The issue may prevail due to an outdated display driver. It can also arise because of the incorrect date and time on your PC. If Windows is not updated to the latest version, it may also create the problem we are talking about. Today, we will introduce you to various potential fixes that can help resolve the issue and make the feature work again.
Probable Causes of the Issue
How to Fix Night Light not Working on Windows?
When the Night Light stops working on Windows, you can simply turn off the feature and turn it back on. If this does not help, you can check the Night Light schedule to confirm that you have set the correct time.
Outdated display driverThe night lights’ strength may be set to a minimum. Location Services may be disabled.Incorrect date and time on the computer.Pending Windows update
Likely, you can also check and increase the intensity of the Night Light feature. Enabling location services might also be handy. Besides these, below you can see the list of detailed fixes with the steps to carry them out.
Turn Off the Night Light and Turn It Back On
One of the first things you can try for the problem is to turn off and turn back on the Night Light option on your computer. If this does not help, you can check out other fixes below.
Check the Schedule of the Night Light Feature
It is possible that the issue may arise when the Night Light feature is on, but the schedule is not correctly configured. For that:
Increase the Intensity of Night Light
Another probable reason for the emergence of the problem is that the Night Light feature is on, but its intensity is incorrect. If the intensity strength is at its lowest, you may not notice the Night Light effect. Here’s how you can check and increase the intensity of the Night Light:
Enable Location Services
It is also necessary that location service is turned on to access the Night Light feature fully. If your location service is turned off, you can’t set the night light schedule from Sunset to sunrise. So, if you want to use the night light feature with automatic timing, i.e., Sunset to sunrise, you need to enable Location Services.
Set the Correct Date and Time
It’s worth noting that an incorrect system date and time will lead to activating Night Light at odd hours. To avoid that, you can check the date and time settings and make necessary changes.
Sign Out of Your Account and Then Sign in Again
You can also try signing out and then sign in again on your user account to resolve the problem. You can try the steps below to do so:
Reboot the Computer
Even after making some changes to the Night Light settings, if you still face the issue, you can also try restarting the computer. Doing so will close all the background processes and give a fresh start to the system.
Update/Reinstall Your PC’s Display Driver
An outdated driver makes your computer prone to security risks and other problems. One such is the problem with the Night Light feature. One ideal solution to tackle the malfunction would be to update the display driver. If Windows doesn’t get any update for the display driver, you need to consider uninstalling the driver. Doing so will allow the PC to reinstall a fresh copy of the driver on your system.
Update Windows
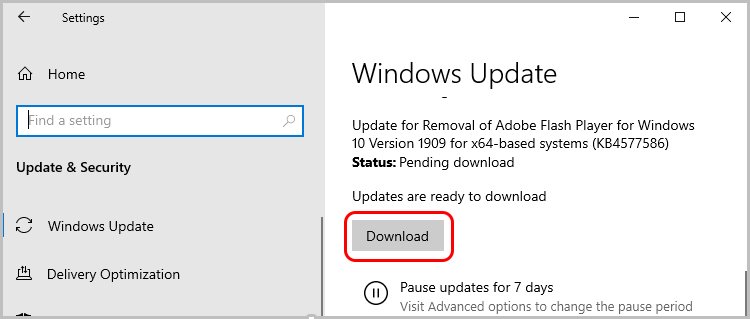
Several users have reported encountering the Night Light malfunction due to a bug in the system. So, the most reliable solution would be to update Windows to the latest version. Doing so will clear the bug issue and help fix Night Light. To do so,
Reset the Night Light Settings
The last option you can try if nothing else works to fix the issue is to reset the Night Light settings via the Registry Editor app. Doing so can help recover the missing registry keys. It also helps resolve the Night Light being greyed. Don’t forget to backup the registry before making changes to the registry values. You can follow the steps below to reset the Night Light settings.


