The reason for the issue is how the UAC treats your Administrators user group. If you use an elevated process to create the drive, your system only makes it available to full admin users. However, when UAC is enabled, your system treats the Admin user as a standard user only, unless you are using an elevated process. The methods we mentioned earlier all use elevated processes to create the mapped drives, so they don’t show up in your explorer, which you can’t run as admin by default. Similarly, mapped drives you create from non-admin methods don’t show up in elevated processes. There are also other few possible reasons for mapped drives not showing. In this article, we provide the solutions for all the causes of the issue.
Causes For Mapped Drive Not Showing
How to Fix Mapped Drive Not Showing?
First, make sure to run gpupdate /force on Command Prompt to force the group policy to apply. You can also run the gpresult /r command to check all active policies.
Design issue due to UAC providing standard access token instead of an administrator token to unelevated process.Mapping drive with the same letter as a previous persistent one without removing its residual settings.Multiple drive mapping policies that conflict with each other.Policies that delete mapped drives running alongside policies that create them.Improper Item-level targeting configuration.SMB protocol disabled on your system.
If you still encounter this issue, you can try out the following solutions:
Restart Windows Explorer
Sometimes, the mapped drive doesn’t show on your File explorer. It happens in the following conditions:
You created the drive in admin mode, for example using a batch script as admin or using any app with elevated privilege.You have enabled User Account Control (UAC).
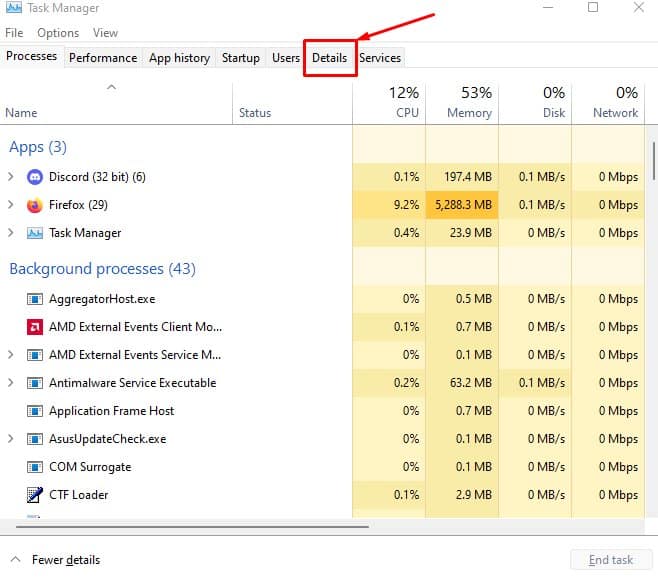
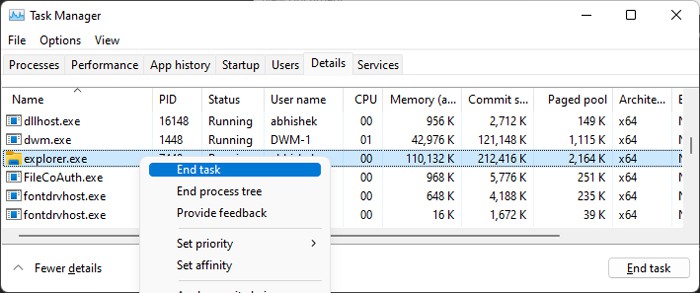
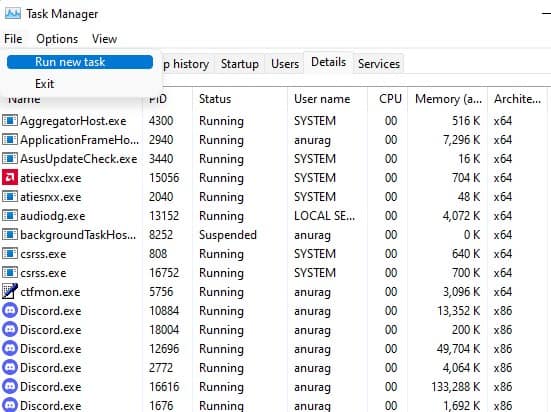
As we mentioned earlier, this happens because UAC handles the Administrators as standard users on unelevated processes. So, you can’t see the mapped drive on File explorer. You can temporarily resolve this issue by restarting Windows Explorer. To do so,
Tweak Registry Setting
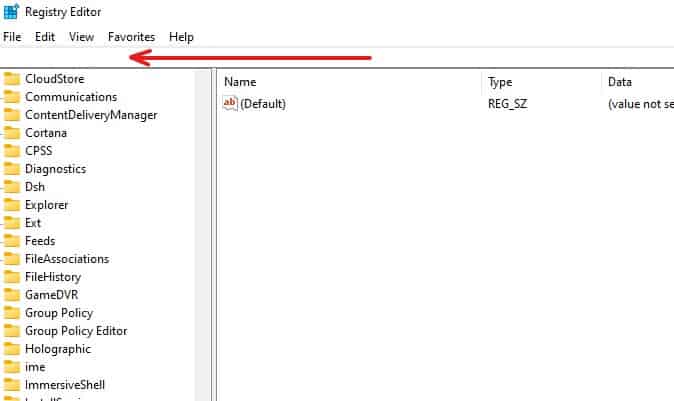
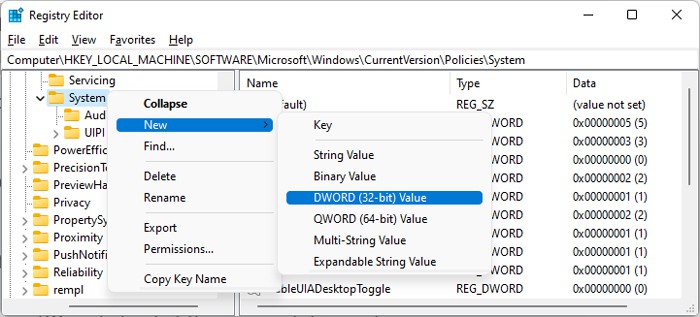
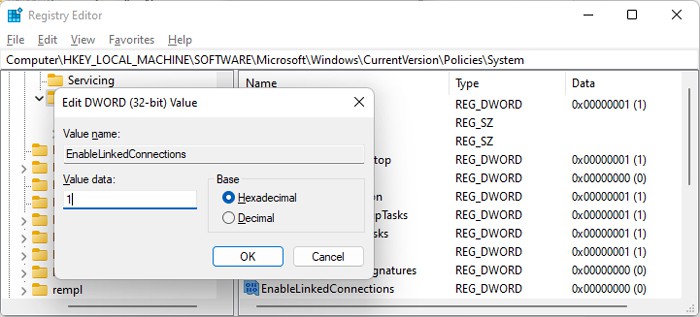
The above method is only a temporary solution. To resolve it permanently, you need to configure the EnableLinkedConnections registry entry. This entry forces your system to share the network connections among all users. This method is also useful if you created the mapped drives using a standard access token (not elevated) and want to access it from elevated processes like CMD or some apps. However, keep in mind it can compromise the security of the user computers. Regardless, here’s what you need to do: Restart your PC and check if the mapped drives show up.
Postpone Execution of Logon Scripts
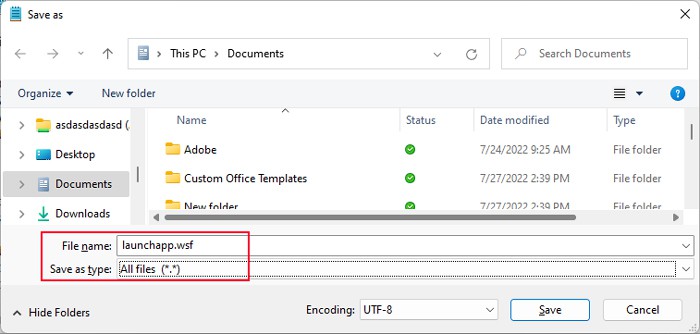
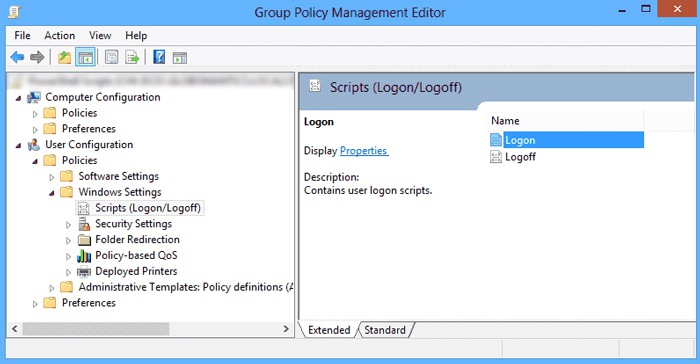
Another method you can apply is using the logon scripts while also including a postpone script provided by Microsoft. The script runs a task scheduler after a certain amount of time has passed since the user logged in. The task scheduler runs on elevated mode so it creates the mapped drive for elevated processes. However, even before the scheduler runs, the logon script is automatically triggered right after logging in which makes the mapped drive available to standard users. Here’s the complete process for the method:
Resolve Drive Letter Issue
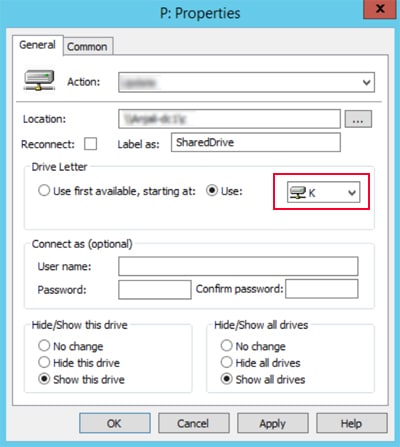
The mapped drive also doesn’t show if you haven’t properly removed another drive with the same drive letter. It can happen if you persistently reserved the drive letter for one mapped drive and remove it improperly. So its residual settings still remain causing conflicts with the new mapped drive. There are two ways to resolve this issue. You can either change the mapped drive to a separate drive letter or you can delete the residual settings of the previous mapping. To change the drive letter, To delete residual settings,
Check Policies of the GPO
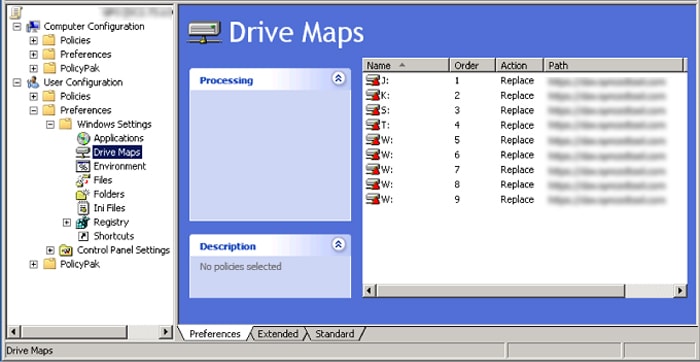
It is also possible that you created a logon script or policy to delete all mapped drives and forgot. Or you may have created more than one drive mapping policy that are overwriting each other. So, you should go through all the policies for the GPO and remove such policies. The best way to set a group policy for mapping network drives is to tailor individual policies for separate OUs which combine all the mapped drive policies.
Check Item-level Targeting
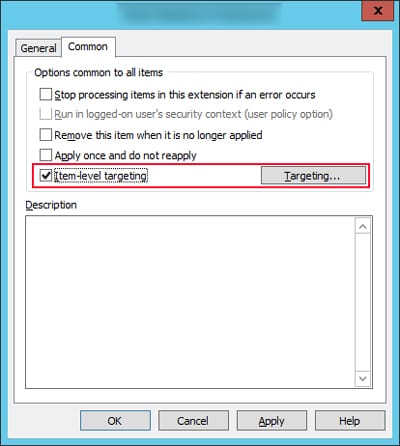
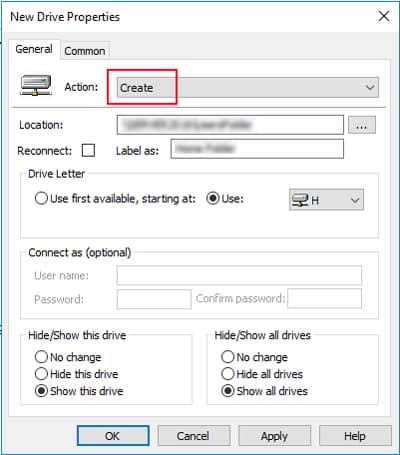
It’s better to use Item-level targetting on the drive mapping to set conditions and improve organization. You can use the AND, OR, IS, and IS NOT operators to set the conditions. If you set a wrong operator, for instance, using AND instead of OR, the mapped drive won’t be available to all users or all of the mapped drive may not be available. You need to check your Item-level targeting settings to resolve this issue. To do so,
Create New Policy
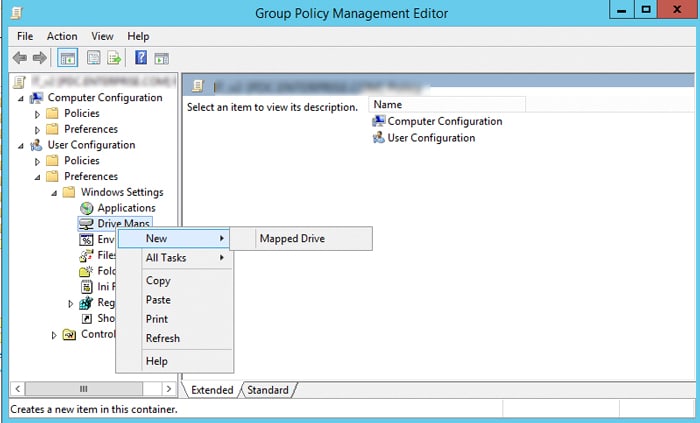
You can also try creating a new policy, but not on the default domain. You should always create new GPOs and link them to the necessary targets while creating policies. Here’s how you can do so:
Check Network Settings
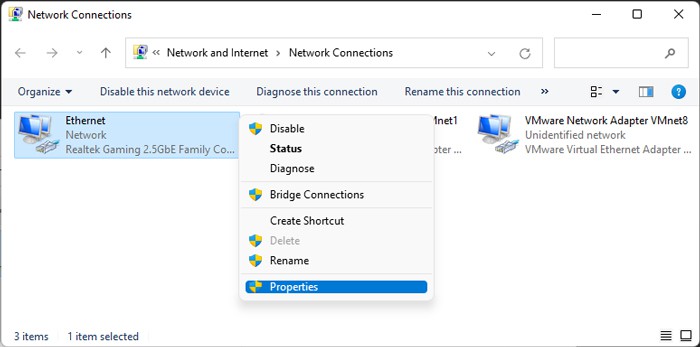
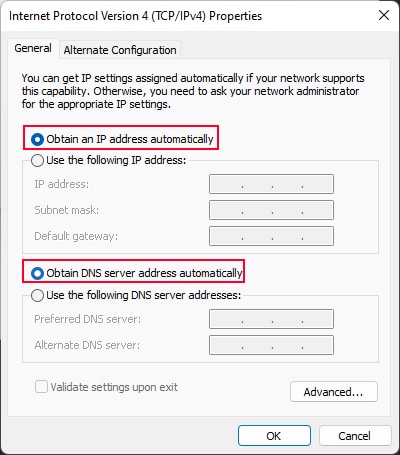
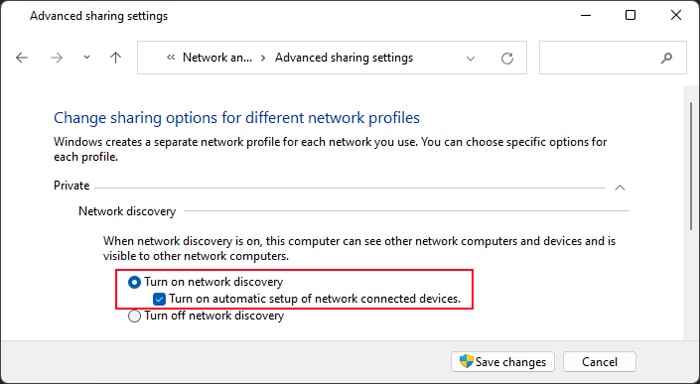
You can also try setting automatic DNS if you can’t see a mapped drive linking to a network resource. If the DNS servers or IP configuration of your system conflicts with the source computer, you may nor see the drive. To do so, Then, you need to make sure that the advanced sharing settings allow sharing of the resources. Here’s how you can do so:
Enable SMB Protocol
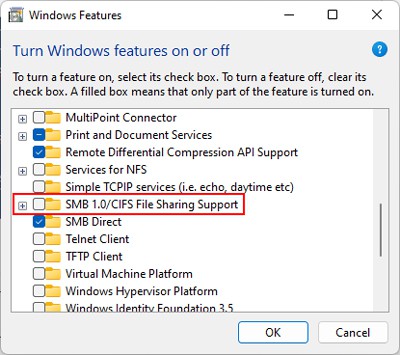
Mapped drives use the Service Message Block (SMB) protocol, which is a network protocol that helps in file sharing. So you need to make sure to enable this protocol to prevent any issues with the mapped drives. The latest Windows use SMB2 instead of the older SMB 1.0, so you need to check for it. Here’s how you can do so, However, if you are using any Windows earlier than Windows 10 version 1709 or Windows Server version 1709, you need to enable SMB 1.0. To do so,
Update Windows
It is also possible that some buggy update is causing problems with your mapped drives. Microsoft will surely release the patches for such bugs, so you should install any updates as soon as they are available, especially cumulative updates. If you started encountering this issue after a certain update and the previous solutions didn’t help, uninstall the latest update to roll back your system.
