As access time on an SSD is low, any applications installed inside the SSD will load much faster than the application installed in a slower storage device. This is why most users install their Operating System in SSD. Doing this allows to load the OS into the RAM much more quickly, decreasing the boot time. This article explains a step-by-step guide for users who want to use SSD as boot drive.
Advantage of Using SSD as Boot Drive
Before we jump into the how-to of the topic, let’s see why using an SSD as a boot drive is good for the PC. As data inside the SSD are accessed and written digitally without requiring any physical moving components, the PC can load the OS data faster due to low latency. Due to these particular reasons, PC builders always use an SSD as a boot drive. Therefore, if you want to upgrade your PC, installing the OS in SSD is the cheapest and easiest upgrade.
How to Use SSD as Boot Drive?
Now that you know why most users install the OS in the SSD let us see how to boot from an SSD. You need to perform three steps before booting your PC with the SSD. Firstly you need to connect the SSD to the motherboard. Secondly, you need to clone an existing OS or install a new one into the SSD. And finally, you need to set the boot priority to SSD. Below, we have explained each step in detail.
Insert the SSD Into the Motherboard
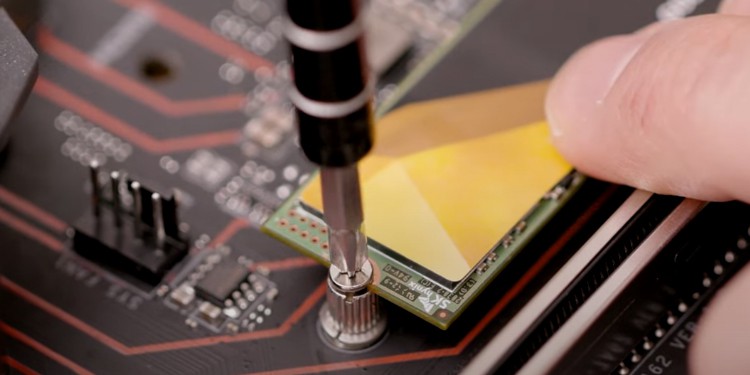
For the PC to detect the SSD, you first need to connect it to the motherboard. To do this, you need to open up your PC. The installation process may vary depending on the type of SSD you use. If you are using a 2.5-inch SSD, you will require a SATA data cable and a SATA power cable. If you are using an M.2 SSD, a screwdriver will be enough. If you are using an External SSD, you can simply connect the SSD to a USB drive.
Install OS in the SSD
Once your PC detects the SSD, you will now need to install the Operating system in your SSD. You can either clone the existing OS into your SSD or install a fresh one.
Cloning the OS
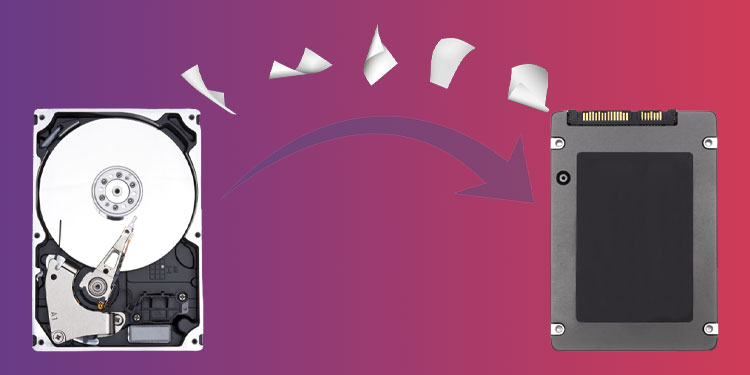
Cloning makes an exact copy of the boot drive or partition. If you have installed any application on the boot drive, you will still have those applications even after cloning the OS. If you want to upgrade from HDD to SSD, you’ll find the transition very smooth and easy if you clone your drive. You won’t face any hassle of installing old applications or adjusting previous Windows settings.
Installing New OS in Internal SSD
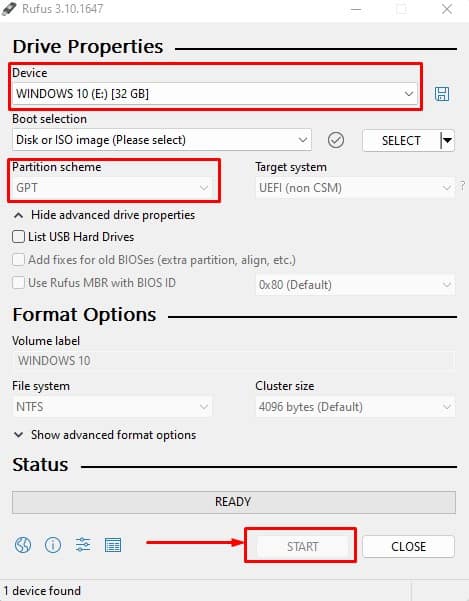
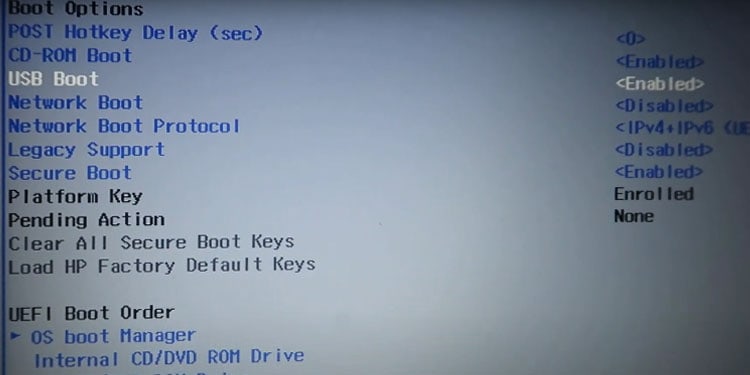
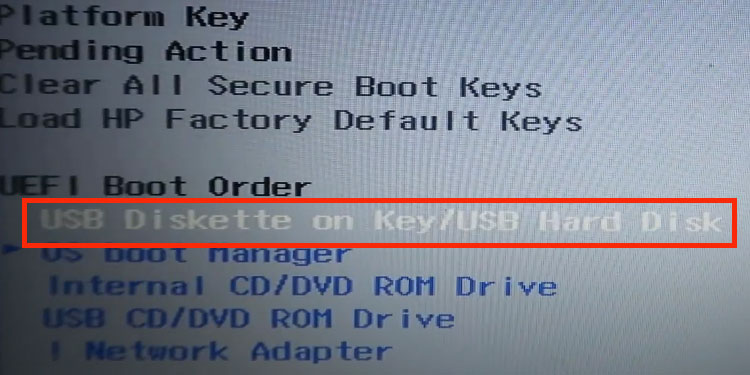
There are a couple of ways to install an OS to an internal SSD. However, here we have explained the process of installing OS in SSD using Rufus. Rufus is a free tool that you can use to make a USB device bootable. Using this Bootable USB, you will install the OS in the SSD. You will also need an Operating system iso file that you can download from the internet. Once you have the .iso file, follow the steps mentioned below to install the OS in SSD using Rufus. You will need to set the USB drive as the primary boot device to install the OS using a bootable USB drive. When you do this, the PC will automatically read the files from the USB drive and install the OS. Follow the steps mentioned below to install the OS in the SSD. Depending on the motherboard manufacturer, you may have different BIOS settings, and setting names will be different. If you cannot find the settings named as mentioned above, you need to search through the BIOS to find these settings. Once you set your USB as a boot drive, the OS installation process will start. During installation, it will prompt you to a window where you need to choose an installation drive. Here, select the SSD and continue with the installation process.
Installing New OS in External SSD
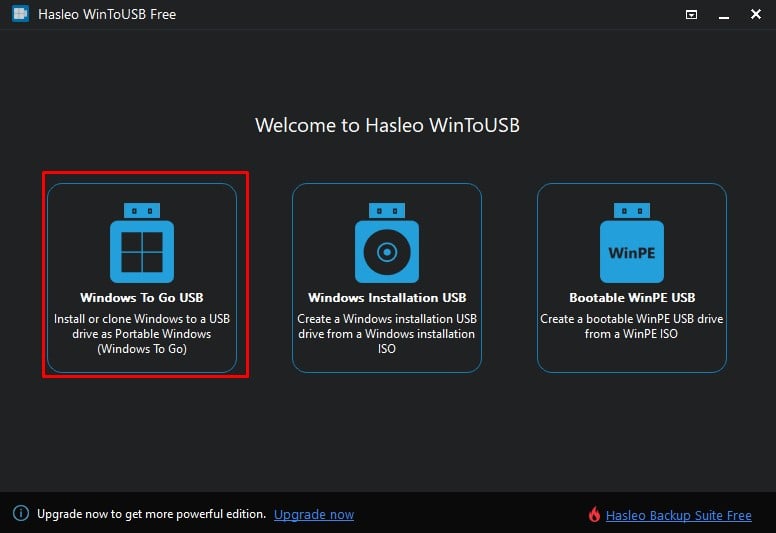
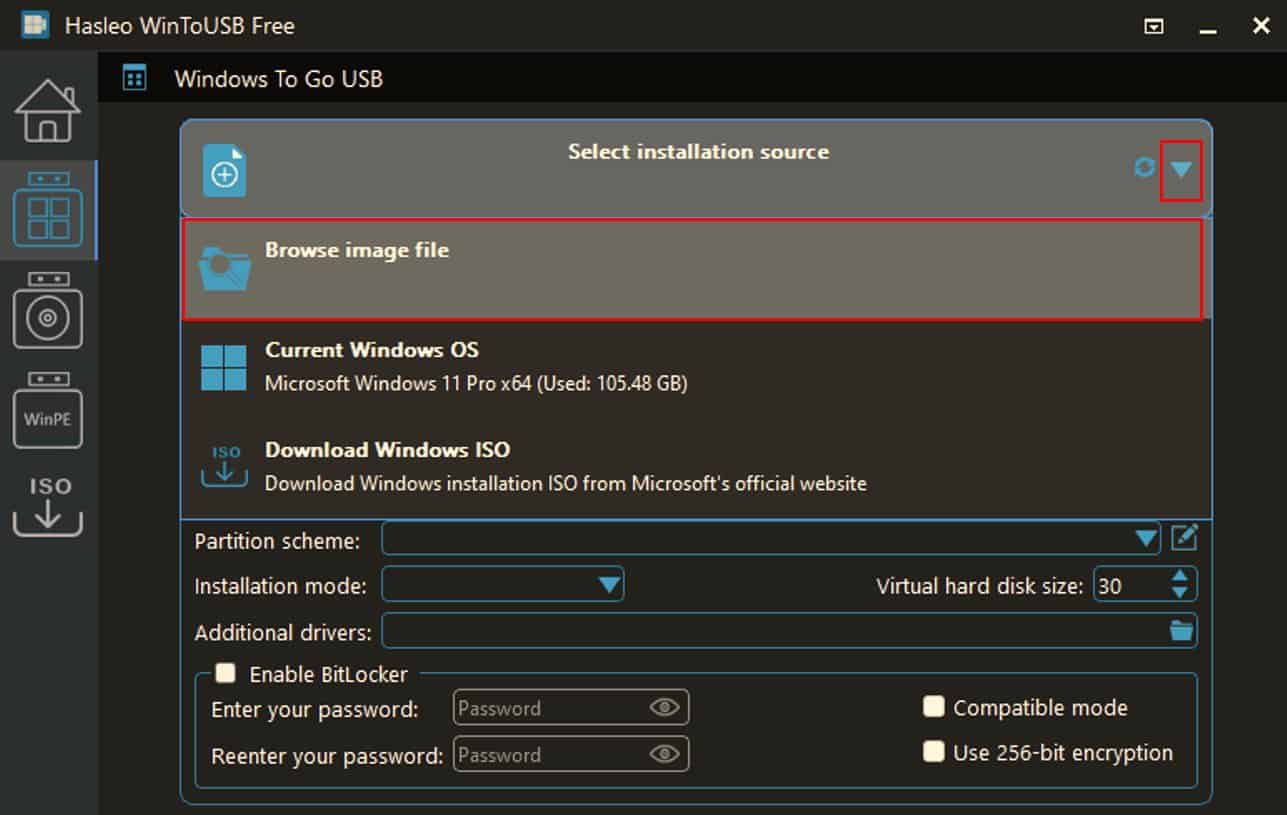
If you are using an external SSD as boot drive, the steps you need to perfrom while installing an OS is quite different. You will need a Windows ISO file and a WinToUSB. WinToUSB allows user to install a version of Windows to the USB drive, in this case the external SSD. Follow the steps below to install OS in an external SSD.
Set Boot Priority
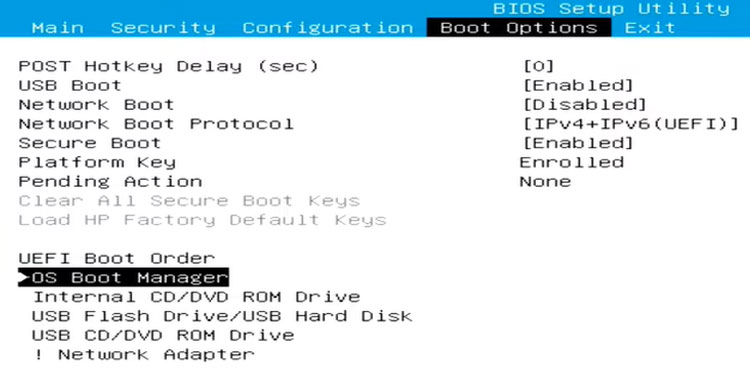
Finally, once your SSD has an Operating System, it is time to set the boot priority. In Boot Priority, you can see the boot order of all the storage devices connected to the system. The PC goes through this list to search the drive containing the OS. You need to make sure that the SSD that contains the OS is on top of the list. To change the boot priority order, you need to access the BIOS.
